


How to Prepare Soil for Sod That Lasts in Utah

A sod lawn can look finished the day it arrives, but its long-term color, density, and drought performance are decided before the first roll is unstacked. To prepare soil for sod in Utah, focus on the root zone: firm enough to walk on, loose enough for roots to move through, shaped to drain properly, and moist enough to receive fresh-cut turf.
That preparation matters whether you are installing a small family lawn in Sandy, a new-build landscape in Lehi, or a commercial property in St. George. Our climate asks a lot of turf. Summer heat, compacted construction soils, alkaline conditions, and uneven irrigation can turn a promising lawn into a patchy one. Start with the ground, and your sod has a much better chance to establish fast and stay strong.
Start With a Clean, Properly Graded Site
Remove old grass, weeds, rocks, construction debris, and leftover landscape material before working the soil. Do not simply lay sod over existing turf or a layer of dead weeds. That organic layer can create air pockets, uneven settling, and weak contact between the sod and native soil.
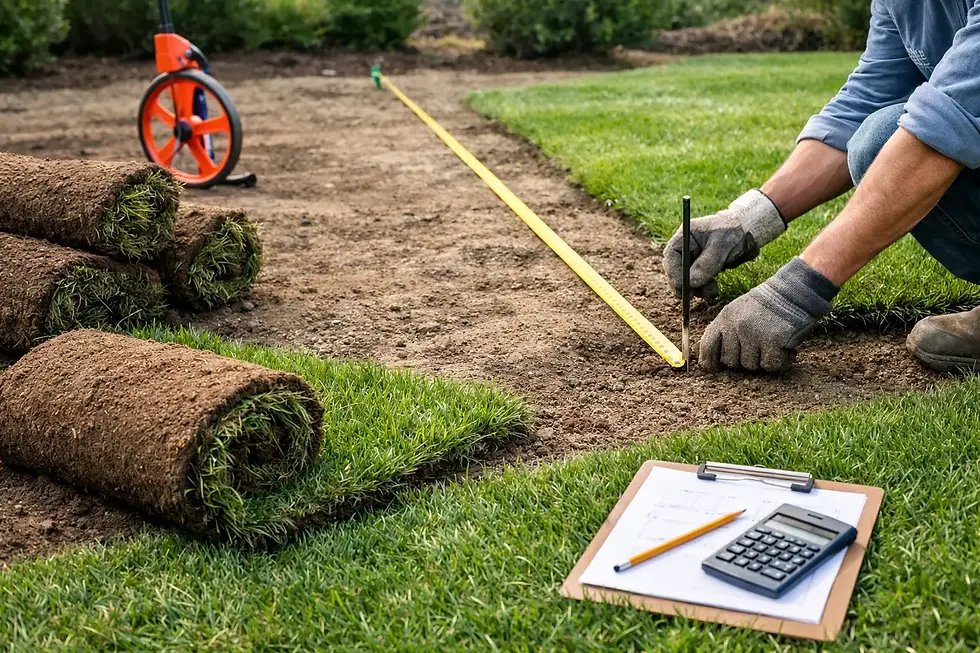
Once the area is clear, establish the final grade. The finished soil surface should sit about 1 inch below sidewalks, driveways, curbing, and other hard edges. Since most sod is roughly 1 inch thick, this lets the completed lawn meet those surfaces cleanly instead of sitting above them.
Grade the site so water moves away from the house and does not collect in low spots. A gentle slope is usually enough. You are not building a drainage ditch, but you do need to prevent standing water near foundations, patios, and walkways. Check the grade from several angles, especially after the soil has been loosened and moved. What looks level from one side of the yard may still hold water after a heavy irrigation cycle.
For larger projects, compacted areas, or lots with major elevation changes, take grading seriously before delivery day. Sod cannot correct poor drainage. It will only make the problem green for a little while.
Test the Soil Before You Add Everything
Utah soils vary widely, even within the same neighborhood. Many are clay-heavy, alkaline, low in organic matter, or compacted by construction equipment. A soil test gives you a clearer answer than guessing with bags of fertilizer and amendments.
At minimum, look for pH, salinity, organic matter, phosphorus, potassium, and nutrient recommendations. High pH is common in Utah and does not automatically mean you need to chase a dramatic pH change. More often, the practical goal is improving soil structure, supporting nutrient availability, and choosing fertilizer wisely.
If the test shows a nutrient deficiency, incorporate the recommended fertilizer before sod goes down. Phosphorus is often discussed for new root development, but do not apply it automatically. Some soils already contain plenty, and local restrictions or site conditions may affect what is appropriate. A test-based approach saves money and avoids loading the root zone with nutrients it does not need.
Build a Root Zone, Not a Soft Sandbox
The goal is not fluffy soil that sinks under every step. Fresh sod needs good soil contact, and roots need a stable, oxygen-rich place to grow. Work the top 4 to 6 inches of soil, breaking up compaction and blending in appropriate organic matter if your soil needs it.
Quality compost can improve heavy clay soil by helping it aggregate, drain, and hold moisture more evenly. It can also help sandy soil retain water and nutrients. Spread a modest, even layer and mix it into the existing soil rather than leaving it as a separate layer underneath the sod. Layers can interrupt water movement and encourage roots to stay shallow.
Avoid over-amending. Adding too much compost, topsoil, sand, or manure creates a different kind of problem: a soft, unstable planting bed that settles after installation. Adding sand to clay without the right proportion and thorough mixing can make the soil denser, not looser. If you need to bring in soil to correct grade or improve a poor site, use a screened, compatible topsoil and blend it into the native soil where possible.
A naturally fertile silt loam gives turf an excellent starting point. That is one reason All American Sod is grown in Utah’s nutrient-rich Ferrozite soil. Still, even premium fresh-cut sod needs a prepared receiving site. The sod brings mature turf; your soil must give its roots somewhere productive to go.
Break Up Compaction Where It Counts
Construction sites often have a hardpan layer below the surface. You may be able to till the top few inches while the soil underneath remains packed tight from equipment traffic. If water puddles for long periods, a shovel is difficult to push into the soil, or roots from previous plants stayed shallow, investigate deeper compaction.
For severe cases, deeper cultivation or professional soil conditioning may be worth the effort. This is especially true for high-traffic yards, athletic areas, and commercial landscapes. The trade-off is that aggressive cultivation can disturb the grade, so plan to fine-grade again afterward.
Fine Grade and Firm the Soil Before Delivery
After soil work is complete, rake the area smooth. Remove stones, sticks, and clods larger than about an inch. Fill low spots and shave high spots until the surface is consistent. A long board, landscape rake, or straightedge makes it easier to find dips that a quick visual pass will miss.
Then lightly firm the soil. A lawn roller partially filled with water, or careful foot traffic across the bed, can settle loose soil without packing it hard. The surface should feel firm underfoot, with only a shallow footprint. If your shoes sink deeply, it is too loose. If the ground is hard and slick, it is too compacted.
Do not roll wet clay soil. It can smear and seal the surface, making infiltration worse. Let it dry enough to crumble in your hand before final grading.
Install Irrigation First and Check Its Coverage
Sod is not the time to discover that a sprinkler head misses an entire corner or sprays directly onto the driveway. Install, repair, and test irrigation before the sod arrives. Run every zone and watch how the water is distributed. Head-to-head coverage is the standard to aim for, meaning the spray from one head reaches the next.
Check for dry strips along fences, overspray on hardscape, and coverage differences between full-sun and shaded areas. Adjust heads now, while the soil is exposed. You can also identify drainage issues before they are hidden under a beautiful new lawn.
A healthy turf lawn uses water productively through evapotranspiration while helping cool the landscape, filter runoff, and support infiltration. Efficient irrigation is not about starving the lawn. It is about putting water where the roots can use it and avoiding waste.
Pre-Water, Then Lay Sod Without Delay
The day before installation, moisten the prepared soil. It should be damp several inches down, not muddy or saturated. Pre-watering gives new roots immediate access to moisture and prevents dry native soil from pulling water out of the sod too quickly.
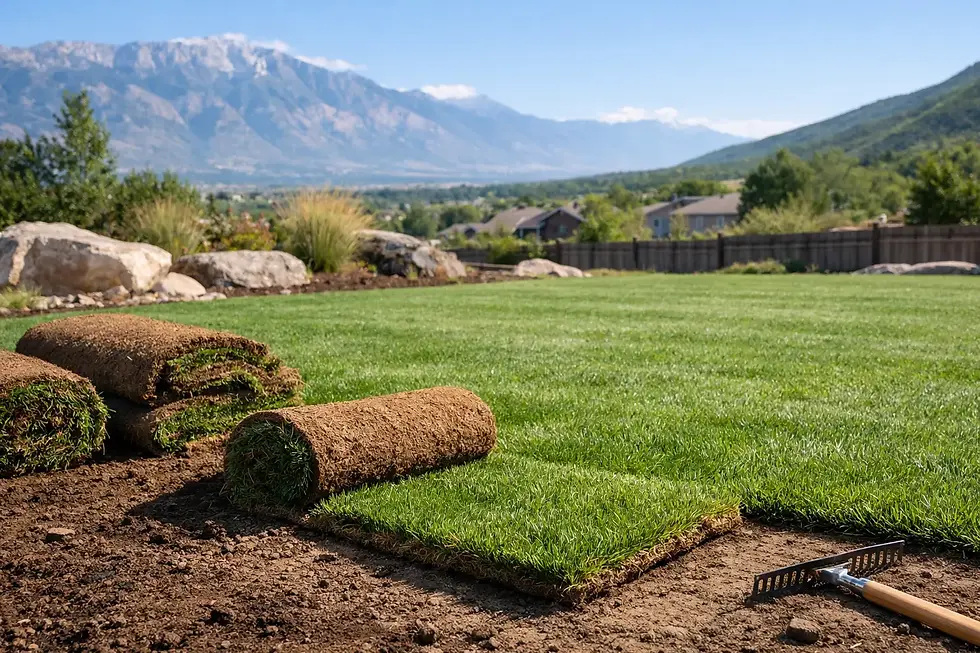
Schedule delivery for the day you plan to install whenever possible. Fresh-cut sod is a living product, and stacked rolls heat up fast in Utah sun. Begin along a straight edge, such as a driveway or patio, and stagger the seams like brickwork. Push pieces tightly together without stretching them, and avoid leaving gaps that can dry out at the edges.
Use full pieces around the perimeter when possible. Smaller cut pieces dry faster and are more likely to shift. After installation, roll the lawn lightly to improve sod-to-soil contact, then water it thoroughly. Lift a corner of a piece after watering to confirm that moisture is reaching the soil below, not just wetting the grass blades.
Protect the Establishment Period
For the first couple of weeks, keep the sod and the soil beneath it consistently moist. Watering frequency depends on heat, wind, sun exposure, soil texture, and the season. A sunny July installation in St. George may need more attention than a cool spring installation in northern Utah. Check the root zone instead of following a rigid calendar.
As roots begin to knit into the soil, gradually water less often and more deeply. This encourages deeper rooting and better drought resilience. Avoid heavy traffic until the sod is anchored. When it resists a gentle tug, roots are beginning to establish.
Your first mowing should happen once the lawn is rooted and tall enough to trim without removing more than one-third of the blade. Use a sharp mower blade and avoid scalping. A new lawn does not need to be babied forever, but it does need a disciplined start.
A green lawn is built from the ground up. Give your sod a clean grade, a prepared root zone, reliable irrigation, and immediate moisture, and it can become the cool, durable outdoor space your Utah property deserves.

Comments